How to Set Up a Portable Solar Panel at Camp
Get more charge from the same panel with a better setup.
A portable panel lets you park in the shade and put the panel in the sun. Set it up well and it can make a big difference to your daily charge.
1. Where the regulator goes
Every panel needs a solar charge controller (regulator) between it and the battery. Some panels have one fitted on the back; some vehicles have one built in (often inside a DC-DC charger). Don't use two controllers in a row. If your DC-DC charger has a solar input, use an unregulated panel, or bypass the panel's own controller as the maker describes.
2. Keep the cable short and thick
Panel voltage is low, so long thin extension leads waste a lot of the charge. Use the thickest, shortest lead you can, and put the controller close to the battery where possible.
3. Point it at the sun
- Face the panel north in Australia.
- Tilt it up rather than lying it flat, especially in winter.
- Move it two or three times a day to follow the sun if you can.
- Keep every cell out of shade. Even a branch shadow can cut the output a lot.
4. Look after it
- Weigh it down or peg it in the wind.
- Keep the plugs dry and off the ground.
- Wipe the surface clean of dust.
5. Quick summary
- One controller only.
- Short, heavy cable.
- North, tilted, out of shade, moved with the sun.
Work on 240V AC wiring, including inverter outputs and mains inlets, must be done by a licensed electrician. For high-current DC gear, follow the maker's installation manual and have an auto electrician check your work if you're unsure.
Related guides
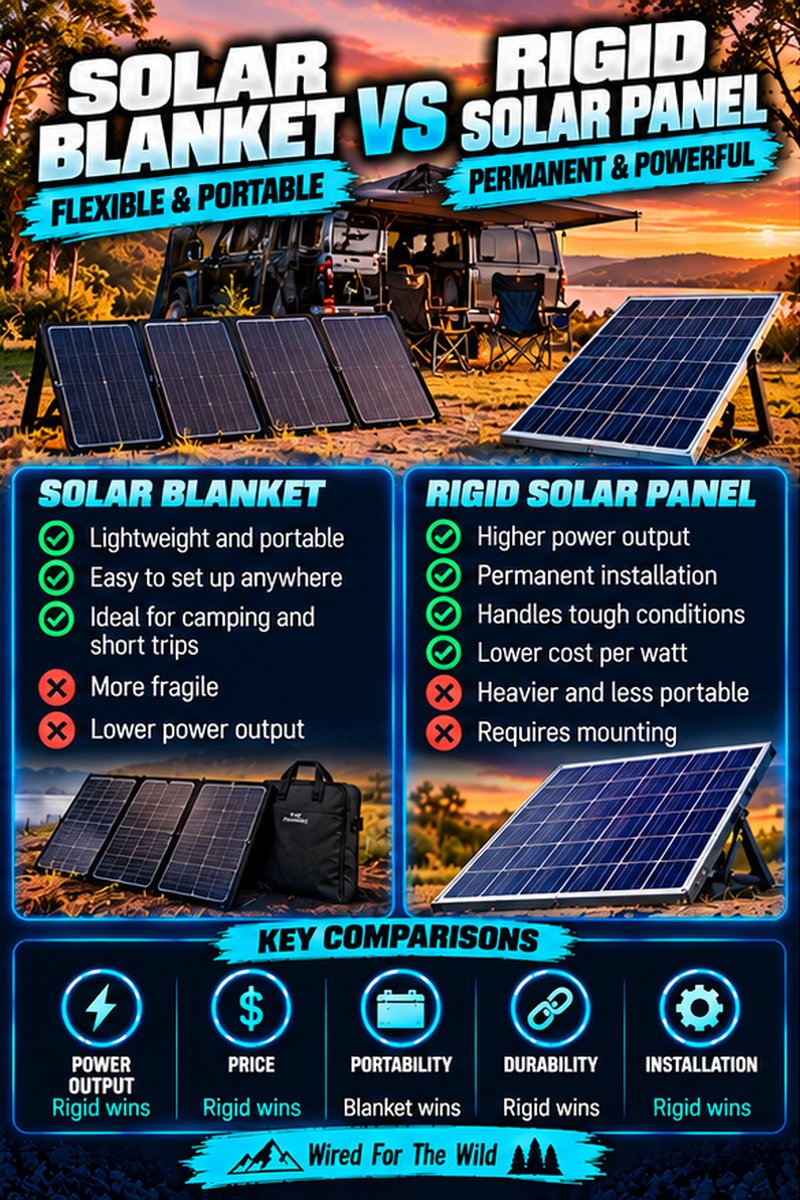
Solar Blanket vs Rigid Solar Panel for 4WD Camping
Portability, output, durability and price compared, so you can pick the right solar for weekends away or long trips.
Read guide →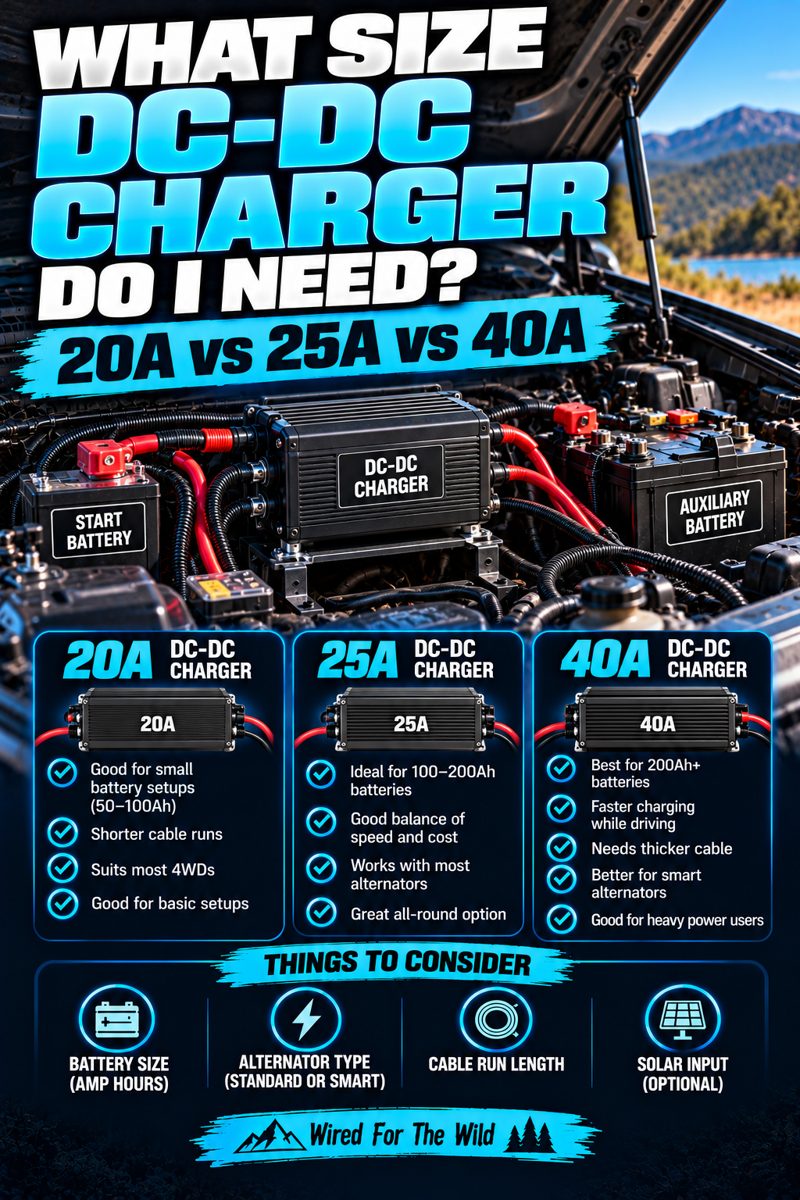
What Size DC-DC Charger Do I Need? 20A vs 25A vs 40A
Match your DC-DC charger to your battery size, alternator and cable run, with tips for smart alternators and solar input.
Read guide →