What a dual battery system does
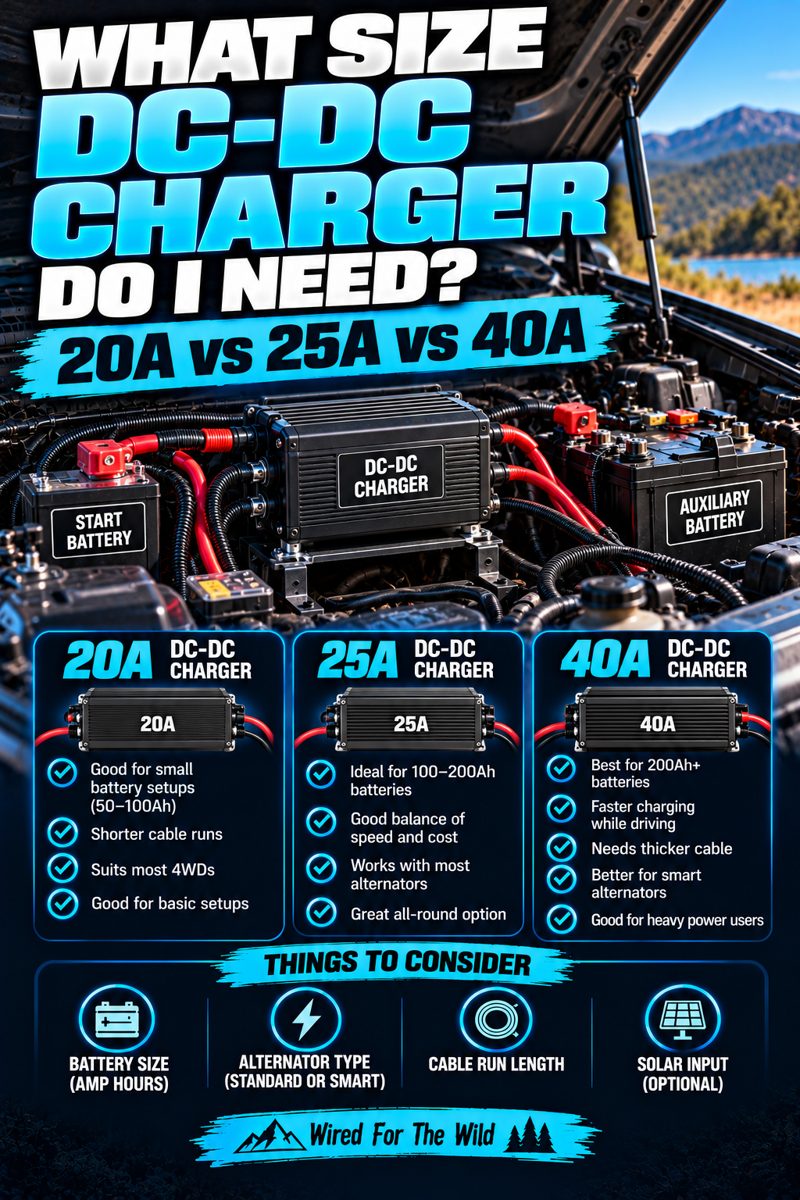
A dual battery system charges a second (auxiliary) battery from your vehicle while you drive, then runs your fridge, lights and camping gear from that battery. Your start battery is kept separate, so you can always start the engine.
How the layout works
- The alternator charges the start battery as normal.
- A cable from the start battery positive runs through a fuse near the start battery to the DC-DC charger input.
- The charger output runs through a fuse near the auxiliary battery to the auxiliary battery positive.
- The charger and both batteries have solid negative connections. Many installers run a dedicated negative cable rather than relying only on the chassis.
- Your 12V fuse box is fed from the auxiliary battery through its own fuse, so your camping gear never drains the start battery.
- If your charger needs it, an ignition or trigger wire tells it when the engine is running.
DC-DC charger or VSR?
A voltage sensitive relay (VSR) simply connects the two batteries when the alternator is charging. It's cheap and simple, but it can't boost the voltage from a smart alternator and doesn't give lithium batteries a proper charge profile.
A DC-DC charger controls the charge to suit the auxiliary battery, works with smart alternators and often has a solar input. For most modern 4WDs and any lithium battery, a DC-DC charger is the better choice.
Parts list
- DC-DC charger sized to your battery (see our DC-DC charger size guide).
- Auxiliary battery and a secure mount or battery tray.
- Battery cable sized for the current and run length, positive and negative.
- Fuses and holders for each positive run, close to each battery.
- Lugs, heat shrink and a proper lug crimper.
- A 12V fuse box for your accessories.
- Cable ties, conduit and grommets to protect the cable.
Get these right
- Fuse every positive cable at the battery end, sized to protect the cable. Follow your charger's manual for fuse sizes.
- Use cable thick enough for the current and run length. Our cable and fuse guide shows how to work it out.
- Crimp lugs with a proper crimper and seal them with heat shrink.
- Keep cables away from exhaust heat and sharp edges, and secure them every so often.
- Connect the ignition wire if you have a smart alternator.
- Disconnect the batteries before you start, and reconnect them last.
When to get help
Battery cables carry a lot of current, and a short can cause a fire. If you're unsure about any step, have an auto electrician check your work or do the install.
Gear picks
12V fuse box with blade fuses
- Feeds fridge, lights and USB
- Fed from the auxiliary battery
As an Amazon Associate I earn from qualifying purchases. Prices and availability are shown on Amazon.